System performance directly impacts business productivity and efficiency. Upgrading to a Solid State Drive (SSD) offers substantial improvements in speed, reliability, and overall computing capabilities.
This comprehensive guide equips IT professionals and decision-makers with a detailed, step-by-step approach to SSD installation, ensuring a smooth transition to enhanced system performance.
From preparation and hardware selection to installation and optimization, this guide covers the entire process of implementing this powerful upgrade across your organization’s systems. Whether you’re revitalizing older hardware or maximizing current infrastructure, you’ll gain the practical knowledge needed to successfully boost your computing efficiency.
Preparation: The Foundation of Successful Upgrades
Proper preparation is crucial for a successful SSD installation. This process begins with assembling the necessary tools and materials:
Essential Tools:
- Phillips head screwdriver (size varies depending on your system)
- Anti-static wrist strap
- Plastic pry tool (for laptop installations)
Required Materials:
- Lexar SSD
- User manual for your computer or motherboard
- Cloning software (if transferring data from an existing drive)
Before proceeding with the installation, it’s imperative to back up all critical data. This precautionary measure safeguards against potential data loss during the upgrade process. For comprehensive data protection, consider the following backup strategies:
- Utilize cloud storage services for critical documents and files.
- Create a full system image on an external hard drive.
- Employ specialized backup software for a more granular approach to data preservation.
Selecting the Optimal SSD
Choosing the right SSD is a critical decision that impacts the overall success of your upgrade. We offer a range of SSD solutions catering to diverse performance needs and system requirements:
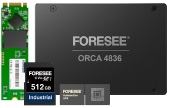
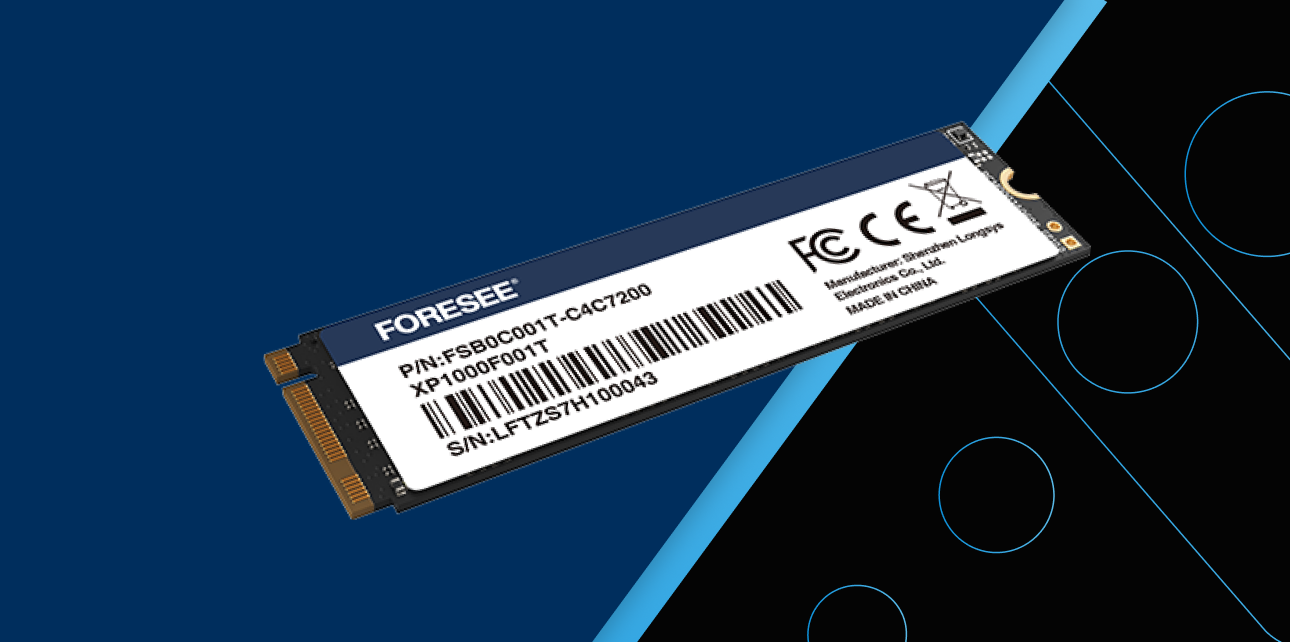
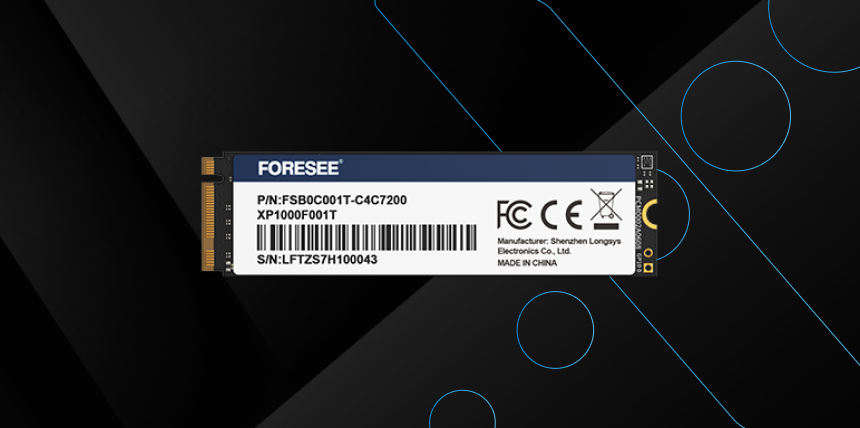
- XP1000 PCIe SSD: This NVMe SSD offers exceptional speed and reduced latency for modern systems with PCIe slots. Available in capacities ranging from 256GB to 2TB, it provides flexibility for various storage needs.
- XP2000 PCIe SSD: Designed for even more demanding applications, the XP2000 delivers superior performance with capacities from 256GB to 4TB. This NVMe SSD is ideal for systems requiring the highest levels of speed and efficiency.
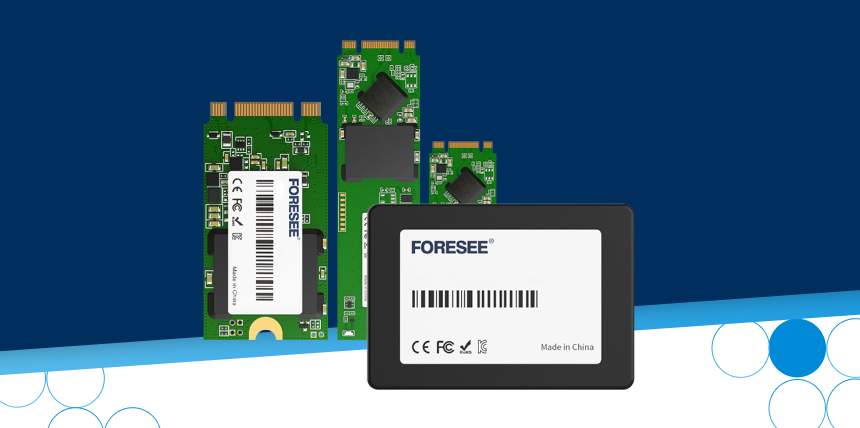
- Industrial SSD: Specifically engineered for industrial applications, this SATA III SSD offers capacities from 32GB to 1TB. It’s designed to withstand extreme temperatures and provides high endurance, making it perfect for rugged environments and applications requiring consistent, reliable performance.
The PCIe SSDs (XP1000 and XP2000) are designed for modern systems with NVMe support, providing significant performance improvements over traditional SATA SSDs and HDDs. They offer exceptional read/write speeds and reduced latency, suitable for a wide range of high-performance computing needs.
The Industrial SSD, while using the SATA III interface, is optimized for reliability and endurance in challenging industrial environments, offering a balance of performance and robustness.
When selecting an SSD, consider the following factors:
- Form Factor: Ensure compatibility with your system’s available space (2.5-inch, M.2, etc.).
- Interface: Verify that your system supports the SSD’s interface (SATA, PCIe, etc.).
- Capacity: Choose a capacity that meets your storage needs while balancing cost considerations.
- Performance Specifications: Evaluate read/write speeds and IOPS based on your workload requirements.
Compatibility is paramount. Consult your system’s user manual or motherboard documentation to confirm the supported SSD types. Lexar’s technical support team is available to assist with compatibility questions, ensuring you select the optimal drive for your specific system.
Installation Process: 6 Steps
The installation process requires attention to detail and adherence to proper procedures. Follow these steps meticulously to ensure a successful upgrade:
Step 1: Power Down and Unplug
Shut down your system completely and unplug all power sources. For laptops, remove the battery if possible. Utilize an anti-static wrist strap to prevent electrostatic discharge, which can damage sensitive components.
Step 2: Access the Internal Components
For desktop systems, remove the side panel to access the internal components. Laptop users may need to remove the bottom panel, which often requires the removal of several screws. Consult your system’s manual for specific instructions.
Step 3: Locate the Drive Bay
Identify the appropriate drive bay for your new SSD. In desktops, this is typically a 2.5-inch or 3.5-inch bay (with an adapter). Laptops may have a dedicated 2.5-inch bay or an M.2 slot on the motherboard.
Step 4: Remove Existing Drive (if applicable)
If replacing an existing drive, carefully disconnect it from the SATA and power cables (for 2.5-inch drives) or unscrew it from the M.2 slot. Keep all screws and components organized for reassembly.
Step 5: Install the SSD
For 2.5-inch SSDs:
- Secure the SSD in the drive bay using the appropriate screws.
- Connect the SATA data cable to the SSD and motherboard.
- Attach the power cable from the power supply to the SSD.
For M.2 SSDs:
- Carefully insert the SSD at a 30-degree angle into the M.2 slot.
- Gently press down and secure with the retention screw.
Step 6: Reassemble the System
Carefully replace all components and panels, ensuring all connections are secure and no cables are pinched or obstructed.
Post-Installation: Optimizing Your New SSD
After successfully installing your Lexar SSD, several crucial steps remain to ensure optimal performance and functionality:
BIOS Configuration and System Recognition
1. Power on your system and enter the BIOS setup (typically by pressing Del, F2, or F12 during startup).
2. Navigate to the storage or SATA configuration section.
3. Verify that the newly installed SSD is recognized by the system.
4. If necessary, adjust the boot order to prioritize the SSD.
5. Save changes and exit the BIOS.
If the SSD is not detected, recheck all physical connections and consult your motherboard manual to ensure the correct SATA ports are being used.
Operating System Installation
For a clean installation:
1. Create a bootable USB drive with your preferred operating system.
2. Boot from the USB drive and follow the installation prompts.
3. When prompted for installation location, select the new SSD.
4. Complete the installation process, including driver updates.
For optimal SSD performance, ensure that TRIM is enabled (automatic in modern operating systems) and avoid unnecessary disk operations that can reduce the SSD’s lifespan.
Data Migration (If Applicable)
If transferring data from an existing drive:
1. Connect both the old drive and new SSD to the system.
2. Utilize cloning software (e.g., Acronis True Image, Macrium Reflect) to create an exact copy of your old drive on the new SSD.
3. Follow the software’s instructions for partition alignment and optimization for SSDs.
4. Once cloning is complete, set the new SSD as the primary boot drive in BIOS.
Post-migration, consider running disk optimization tools specifically designed for SSDs to ensure proper alignment and performance.
Troubleshooting: Addressing Common Challenges
Despite meticulous preparation and installation, issues may arise. Here are solutions to common problems:
SSD Not Recognized
1. Verify all connections are secure.
2. Try a different SATA port or cable.
3. Update motherboard BIOS to the latest version.
4. Check for firmware updates for the SSD.
System Fails to Boot
1. Confirm correct boot order in BIOS.
2. Ensure the SSD is set as the primary boot device.
3. Verify the integrity of the operating system installation.
Slower Than Expected Performance
1. Check that the SSD is connected to the appropriate interface (e.g., SATA III for maximum SATA performance).
2. Ensure the latest SSD firmware and system drivers are installed.
3. Verify that TRIM is enabled and the SSD is properly aligned.
Unexpected System Crashes
1. Run diagnostic tools to check for SSD health issues.
2. Update all system drivers, particularly storage controllers.
3. Monitor system temperatures to rule out overheating issues.
Leveraging Lexar’s Support Infrastructure
We are committed to ensuring the success of your SSD upgrade. Our comprehensive support system includes:
- Technical Support Team: Available via phone, email, or chat for personalized assistance.
- Online Knowledge Base: Extensive documentation, FAQs, and troubleshooting guides.
- Firmware Updates: Regular releases to enhance performance and resolve potential issues.
- Warranty Service: Robust warranty coverage for peace of mind.
Maximizing Your SSD Investment
The transition to an SSD represents a significant enhancement to your system’s capabilities. By following this guide and leveraging Lexar’s industry-leading support, you’ve positioned your organization to benefit from:
- Dramatically improved system responsiveness
- Enhanced data access speeds for critical applications
- Increased energy efficiency and reduced heat generation
- Improved system reliability due to the absence of moving parts
Our commitment to innovation and quality ensures that your SSD upgrade not only meets current performance demands but also provides a foundation for future technological advancements. As data processing requirements continue to evolve, the strategic decision to upgrade to an SSD positions your organization at the forefront of computing efficiency.
For further assistance or to explore advanced SSD solutions tailored to your specific business needs, we encourage you to reach out to Lexar’s dedicated enterprise support team.
Our experts are ready to help you maximize the potential of your data storage infrastructure, ensuring your organization remains agile and competitive in an increasingly data-driven business landscap


