Your system’s hard drive is the one component that most often holds everything else back. If you’re working with an older HDD or even a lower-tier SATA SSD, the fastest processor in the world can’t compensate for slow storage. I’ve seen engineers and IT teams spend thousands optimizing compute resources while leaving a mechanical drive as the bottleneck – it’s one of the most common performance oversights in both consumer and industrial computing environments.
Knowing how to install a new SSD – and how to install a SSD or solid state drive correctly – is what this install SSD tutorial walks through step by step, whether replacing an old drive or starting fresh. Whether you’re upgrading a desktop PC, installing an SSD drive for the first time, adding an SSD to an existing build, installing ssd in any form factor, or replacing a failing SSD drive in a laptop, the process follows the same core steps. This guide covers how to install an SSD in a PC or laptop, how to install ssd in desktop or laptop, how to install an SSD into a PC correctly, for both SATA and M.2 NVMe form factors – and how to set up your SSD correctly after installation so it’s ready to use.
Before you open anything up: make sure the SSD you have is compatible with your system. Check your motherboard manual or laptop specifications to confirm whether you need a 2.5″ SATA drive, an M.2 SATA drive, or an M.2 NVMe drive. The physical slot and the supported interface are two different things – an M.2 slot doesn’t automatically mean NVMe support. This is the most common pre-installation mistake, and it costs time.
Why Upgrade to an SSD?
Traditional hard disk drives (HDDs) rely on spinning magnetic platters and a mechanical read/write head to access data. That mechanical process introduces latency – the time it takes the head to physically move to the correct location on the platter. SSDs eliminate that entirely by using NAND flash memory, which stores and retrieves data electronically with no moving parts involved. If you’re still weighing the decision, our SSD vs. HDD comparison covers the full performance and reliability tradeoffs in detail.
The performance difference is significant across every measurable category:
- Boot times: Systems with SSDs typically boot in under 15 seconds. HDD-based systems often take 45 seconds or longer depending on drive health and OS configuration.
- Application load times: Programs stored on an SSD open almost immediately, with no read head seeking across spinning platters.
- File transfer speeds: SATA SSDs deliver sequential read speeds up to 550 MB/s. NVMe SSDs running on the PCIe interface reach 3,500 MB/s and above on Gen 3, with Gen 4 drives exceeding 7,000 MB/s sequential read.
- System responsiveness: Random read/write operations – the kind that happen constantly during normal computing – are dramatically faster on NAND-based storage than on mechanical drives.
- Durability: With no moving parts, SSDs are less vulnerable to physical shock and vibration. This matters especially in industrial, automotive, and mobile computing applications where drives are subject to constant movement.
For organizations running PC-based workstations, edge computing nodes, or industrial systems, the shift from HDD to SSD often delivers the most immediate and noticeable performance gain of any single hardware upgrade.
What Do You Need to Install an SSD?
If you’re asking what do I need to install an SSD, the list is short. Whether installing a new SSD in a PC, installing new ssd in pc for the first time, learning how to install ssd drive hardware – how to install a solid state drive, or installing a solid state drive as a laptop upgrade, including how to install SSD Windows 10 and Windows 11 setups, both covered here – or adding a second drive to an existing build, gathering everything in advance prevents mid-installation stops that can leave your system open and exposed. Here’s what to have on hand before you begin installing an SSD in any computer:
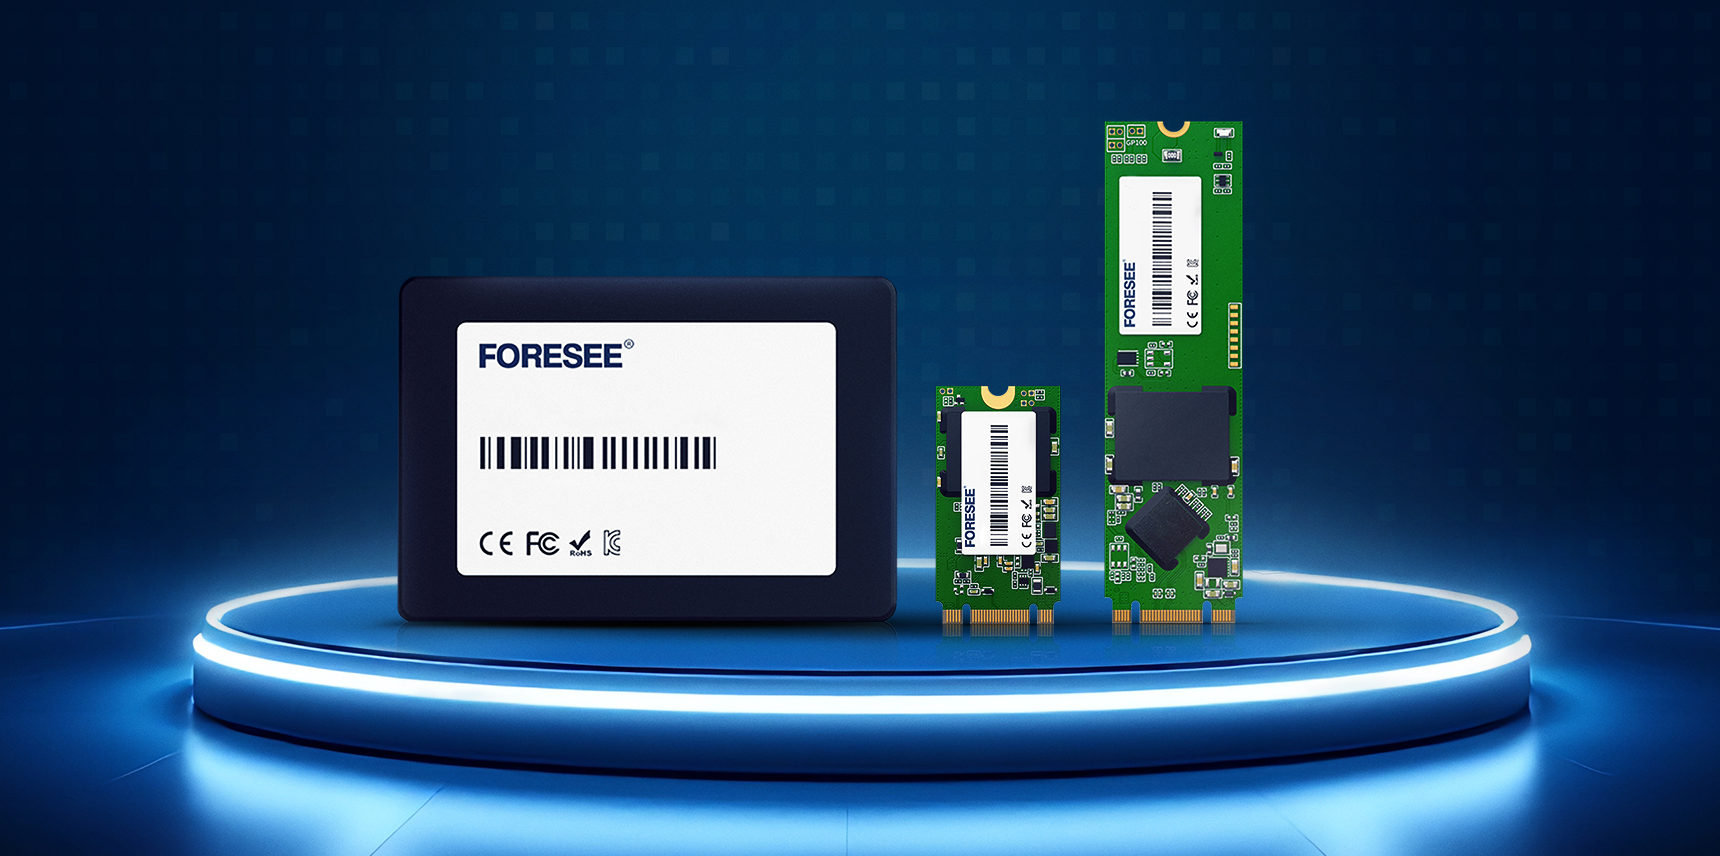
- The correct SSD for your system: Confirm form factor (2.5″ or M.2) and interface (SATA or NVMe PCIe) against your motherboard or laptop specifications. If you’re still deciding on capacity, our 512GB vs. 1TB SSD guide can help you match storage size to your workload.
- Phillips head screwdriver: #1 for most laptop screws, #2 for desktop case panels and drive bay mounting.
- Anti-static wrist strap: Electrostatic discharge (ESD) can damage sensitive components. Ground yourself before handling any internal hardware. Touching a bare metal part of the chassis is a secondary option if no strap is available.
- SATA data cable (desktop SATA installations only): Many SSDs don’t include a cable. Check whether your motherboard has an available SATA port and whether you have a cable to connect to it.
- M.2 mounting screw and standoff (M.2 installations): Most motherboards include the necessary screw. Your board’s manual shows where to install SSD on the motherboard – the question of where to install SSD on motherboard is answered by checking which slot is marked as NVMe vs. SATA in the manual.
- Cloning or backup solution: If you’re migrating an existing OS to the new SSD, you’ll need either a USB-to-SATA adapter for the old drive plus cloning software, or a complete backup and fresh OS install plan.
Back Up Your Data First
This step is non-negotiable regardless of installation type. Even when nothing goes wrong, having a verified backup before any storage change is standard procedure. Options include external USB drives, network-attached storage, or cloud backup services. Make sure application data and system files are included, not just documents and media.
If your plan is to clone the existing drive rather than do a fresh install, connect the new SSD externally via a USB adapter before the physical installation. Run the clone first, verify it completed without errors, then proceed to swapping the drive. Cloning software options include Macrium Reflect Free, Clonezilla, or the drive manufacturer’s own migration tool if one is provided. Cloud backup services like Google Drive, Dropbox, or iCloud.
How to Install an SSD in a Desktop PC
Desktop installations vary by form factor. Whether you’re installing ssd storage in a new build, installing a ssd as an upgrade, or installing new ssd hardware to replace an aging drive – installing ssd drive components, and installing an ssd drive correctly, depends on whether it’s a 2.5″ SATA drive or an M.2 module. How to install an internal SSD depends on whether you’re working with a 2.5″ SATA bay, an M.2 SATA slot, or an M.2 NVMe slot. Knowing how to install ssd on pc or how to install ssd on a desktop means knowing which slot type your board supports before you open the case. Safety steps apply to all three. The fundamentals of installing internal SSD hardware – any internal SSD installation – follows the same rules regardless of form factor – power down, ground yourself, seat the drive, connect it.
Before You Open the Case
- Shut down and unplug the system completely. Power off through the operating system, then unplug the power cable from both the wall and the back of the power supply. Press and hold the power button for five seconds after unplugging to discharge any residual power in the capacitors.
- Put on your anti-static wrist strap and clip it to a bare, unpainted metal surface on the case.
- Remove the side panel. Most modern cases use thumbscrews at the rear of the panel. Slide the panel back slightly and lift it away. Keep the screws in a small container so they don’t get lost.
Installing a 2.5″ SATA SSD in a Desktop
To install a SATA SSD – the most common solid state drive install for 2.5″ desktop and laptop upgrades, whether you need to know how to install sata ssd in a bay or slot – follow these steps:
- Locate an available 2.5″ drive bay. Many cases have dedicated 2.5″ bays, often mounted behind the motherboard tray. If your case only has 3.5″ bays, you’ll need a 2.5″-to-3.5″ adapter bracket to mount the smaller drive correctly.
- Secure the SSD in the bay. Slide the drive into position and fasten it using the provided screws on the sides or bottom of the bay. The drive should not move when you give it a light test push. Vibration from a loose drive can affect data integrity over time.
- Connect the SATA data cable. Plug one end into an available SATA port on the motherboard (labeled SATA0, SATA1, etc.) and the other end into the L-shaped connector on the back of the SSD. The connector is keyed – it only fits one way.
- Connect the SATA power cable. Locate an available flat 15-pin SATA power connector from your power supply unit (PSU) and plug it into the drive next to the data connector. If no SATA power connectors are available, a Molex-to-SATA power adapter can be used.
- Verify both connections are fully seated. A light tug on each cable confirms the connectors are locked in. Partially seated connectors are a common cause of drives not being detected in the BIOS.
- Replace the side panel and reconnect the power cable.
Installing an M.2 SSD in a Desktop
M.2 drives mount directly to the motherboard without cables, which makes them cleaner to install than 2.5″ drives. Whether you’re figuring out how to install internal ssd hardware in a desktop or how to install new ssd in pc – M.2 NVMe is often the answer for modern boards. This section covers how to install an M.2 SSD – sometimes written as how to install an M 2 SSD – regardless of interface. Both SATA and NVMe M.2 form factors – the physical steps for installing an NVMe SSD are identical to M.2 SATA; what differs is slot compatibility and performance output. If you need to know how to install an NVMe SSD in a PC specifically, or how to install Windows on an NVMe SSD after,, the steps below apply directly. Confirming slot compatibility before you start is critical – most motherboards support M.2 SATA and M.2 NVMe but through different slots, and some slots are only wired for one interface type. For a deeper look at how the PCIe interface works and what to check for in an NVMe drive, see our PCIe SSD guide.
- Locate the M.2 slot on your motherboard. It’s a narrow horizontal slot, typically near the top of the board for primary NVMe slots and lower on the board for secondary slots. If you’re unsure where to install SSD in PC – or which motherboard slot specifically – consult the manual – it identifies where to install SSD in a PC – where to install SSD in the PC chassis and which slot supports NVMe vs. SATA, and which slots share bandwidth with other PCIe lanes (relevant for performance-sensitive builds).
- Remove the M.2 heatsink if present. Many modern motherboards include a heatsink plate over the M.2 slot. Remove the screw(s) securing it and lift it away. Set it aside – you’ll reinstall it after the drive is in.
- Insert the M.2 drive at an angle. The M.2 drive inserts into the slot at approximately a 30-degree angle. Align the notch on the drive’s connector with the key in the slot, then push it in gently until it’s fully seated. The drive will stick up at that angle – do not force it flat.
- Secure the drive with the mounting screw. Press the far end of the drive down toward the motherboard and fasten it with the M.2 mounting screw. The screw goes into the standoff that corresponds to the drive’s length (2242, 2260, or 2280 – the number indicates length in millimeters). Most M.2 SSDs are the 2280 size.
- Reinstall the heatsink if your motherboard has one. This helps manage thermals under sustained read/write workloads.
- Replace the side panel and reconnect the power cable.
How to Install Second SSD Storage or Add Additional Drives to a Desktop PC
How to install a second SSD – and more broadly how to install a new SSD in a PC alongside an existing drive – is one of the most common desktop storage upgrade questions. Whether you need to install second ssd windows 10 or install second ssd windows 11, the physical process is the same; only the Disk Management UI differs slightly. The good news: how to install an extra SSD in PC is covered – how to install an extra SSD in a PC in the steps above – the process for adding a second or third storage device, and doesn’t require removing anything currently installed. If an open 2.5″ bay and a free SATA power connector are available, you can add an SSD to a PC – and the process for how to add an SSD to a PC with an existing HDD is covered in the desktop section above – alongside the existing drive. For M.2, check the motherboard manual for a second available slot. The second drive won’t need a new OS – just initialize and format it in Windows Disk Management once the physical installation is complete, covered in the setup section below.
For gaming PC builds, how to install an SSD in a gaming PC matters for performance. Keep the OS and most-used titles on the NVMe primary drive, and use the second SSD for bulk game library storage. This setup keeps load times fast on high-priority applications without exhausting space on the primary drive.
How to Install an SSD in a Laptop
Laptop installations are more constrained than desktops – less space, more varied designs, and access panels that vary significantly between manufacturers. Whether you’re replacing an existing drive, learning how to install a SSD in a laptop, how to install ssd in laptop or how to install ssd on laptop, installing a new SSD in a laptop, or figuring out how to add an SSD to a laptop for the first time, always download and review your laptop’s service manual before opening it. Most manufacturers publish these documents on their support pages, and they’ll show you the exact screw locations, access points, and any fragile connectors to watch for.
- Power off the laptop completely and unplug the AC adapter. If the battery is user-removable, take it out. Press and hold the power button for five seconds to discharge residual power.
- Put on your anti-static wrist strap and clip it to a bare metal surface – the laptop hinge or a VGA port work well if accessible.
- Remove the bottom panel. Most modern laptops use Phillips #1 screws. Note that some screws may be hidden under rubber feet or stickers. Keep track of screw lengths if there are different sizes – they often aren’t interchangeable. A plastic pry tool or spudger helps release panel clips without scratching the casing.
- Locate the existing storage device. Laptops use either a 2.5″ SATA drive in a dedicated bay or an M.2 drive mounted on the motherboard. Some thin-and-light models use only M.2 with no 2.5″ bay at all.
Replacing a 2.5″ SATA Drive in a Laptop
- Remove any screws securing the drive bay bracket or caddy. Some designs use a tab you can pull to slide the drive out; others use small screws at the sides.
- Disconnect the SATA connector carefully. Grip the connector body, not the cable, and pull straight back. The connector is fragile.
- Transfer mounting hardware to the new SSD. If the old drive has side-mount screws or a rubber bumper frame, move them to the new drive. These components prevent vibration and confirm the drive fits the bay correctly.
- Insert the new SSD into the bay in the same orientation as the drive you removed, reconnect the SATA connector, and secure any mounting screws.
Replacing an M.2 Drive in a Laptop
Whether you’re installing new ssd in laptop storage or replacing a failing M.2 drive, knowing how to install ssd laptop hardware correctly prevents connector damage.
- Locate the M.2 slot. In laptops it’s typically mounted directly on the motherboard, sometimes with a thermal pad or heatsink cover. Remove any cover plate carefully.
- Unscrew the existing M.2 drive using a Phillips #1 screwdriver. The drive will lift up at an angle. Slide it out of the slot.
- Insert the new M.2 SSD at the same angle, pushing it in until fully seated. Press the drive flat and secure it with the mounting screw. Don’t overtighten – M.2 screws are small and the threads strip easily. If a screw is missing: how to install SSD without screw is a common question – and the short answer is, you technically can short-term, but the drive will be unsecured under vibration. Use a replacement before putting the system into regular use.
- Replace the thermal pad or cover plate if one was present, then reseat the bottom panel.
Reconnect the battery and AC adapter once the panel is secured. Overtightening laptop screws is a common mistake – turn until you feel slight resistance, then stop.
How to Set Up Your SSD After Installation
Physical installation is only half the process. Knowing how to set up ssd hardware correctly in BIOS and your operating system is what makes it actually work. Whether you’re learning how to set up new ssd storage or completing a full OS migration, here’s how to complete the post-installation SSD setup.
BIOS Detection and Configuration
Power on the system and enter the BIOS or UEFI firmware utility. The key to press during startup is usually displayed on the boot splash screen – common options are DEL, F2, or F10 depending on the motherboard manufacturer.
In the BIOS, confirm the following:
- Drive detection: Go to the storage or boot settings menu and verify your new SSD appears. If it’s not listed, shut down and re-check the physical connections. For M.2 drives, confirm the slot is enabled in BIOS – some boards disable secondary M.2 slots by default.
- SATA mode (for SATA SSDs): Set the SATA controller to AHCI mode, not IDE or RAID, unless you’re configuring a RAID array. AHCI enables features specific to NAND-based storage and allows the operating system to communicate more efficiently with the drive.
- Secure Boot: Required for Windows 11 installations. For other operating systems or legacy setups, check whether this needs to be enabled or disabled for your specific configuration.
- Boot order: If the SSD is your primary drive, set it first in the boot priority order.
Save changes and exit the BIOS.
Operating System Installation or Data Migration
If you’re doing a fresh OS install – figuring out how to install Windows on an SSD is covered here – boot from your Windows or Linux installation USB and follow the installer. When prompted to select a target drive, select your new SSD. How to install new SSD Windows 11 setup correctly requires GPT formatting; it follows the same core process as any other version as any version – for Windows 11, the drive should be formatted as GPT with a UEFI boot partition. For Windows 10 on a new SSD – how to install SSD with Windows 10 is the same process – the steps are identical – the process to install an SSD with Windows 10 follows the same GPT/UEFI path – GPT/UEFI is recommended, though Windows 10 also supports MBR/Legacy BIOS on older hardware if needed.
If you cloned your existing drive before installation, boot from the new SSD – now your new SSD boot drive. How to install a new SSD boot drive – the process for how to install new SSD boot drive – this ends here: confirm all files and applications are present before wiping the old drive. Check that all files and applications are present before wiping or repurposing the old drive.
Initializing and Formatting a Secondary SSD in Windows
If the SSD is being installed as a secondary data drive – not the OS drive – Windows won’t use it until it’s initialized and formatted. Installing a new SSD in a PC as a secondary drive requires this extra step; the process is the same in Windows 10 and 11 whether you’re on Windows 10 or Windows 11. The process is the same in both versions. Here’s how:
- Right-click the Start button and select Disk Management.
- The new drive will appear as Unknown / Not Initialized. Right-click it and select Initialize Disk.
- Choose GPT (GUID Partition Table) for any modern system using UEFI. Choose MBR only if you’re working with legacy hardware or need compatibility with older systems.
- After initialization, right-click the unallocated space and select New Simple Volume. Follow the wizard: accept the default full size, assign a drive letter, select NTFS as the file system, and perform a quick format.
- The drive will appear in File Explorer and is ready to use.
Optimizing SSD Performance
A few OS-level settings affect the long-term performance and health of NAND-based storage:
- TRIM: TRIM is a command that allows the operating system to notify the SSD which data blocks are no longer in use, so the drive can manage them during idle periods. Windows 10 and 11 enable TRIM automatically for recognized SSDs. To verify it’s active, open Command Prompt as administrator and run: fsutil behavior query DisableDeleteNotify. A result of 0 means TRIM is enabled.
- Disable scheduled disk defragmentation: Windows automatically detects SSD media type and runs optimization (not traditional defragmentation) on a schedule. However, if you’re using third-party disk tools, confirm they’re not running full defragmentation passes on the SSD. Traditional defragmentation on NAND flash is unnecessary and adds unnecessary write cycles.
- Write caching: Windows enables write caching for SSDs by default. This buffers writes in the drive’s cache memory before committing to NAND, which improves performance on burst write operations. If you’re operating in an environment where unexpected power loss is a concern, verify your UPS coverage or check the drive’s power loss protection specifications. For industrial and edge deployments, our guide to industrial SSD power optimizations covers additional strategies for managing write performance and drive longevity.
- Firmware updates: After installation, check the SSD manufacturer’s website or management software for firmware updates. Drive firmware updates can address performance issues, improve compatibility, and in some cases patch stability-related bugs. For Lexar Enterprise SSDs, the Lexar Enterprise Knowledge Center provides firmware and software resources. Firmware management is part of the product lifecycle support for enterprise-grade drives like the Lexar Enterprise XP2000 PCIe SSD and the XP1000 PCIe SSD.
Troubleshooting Common SSD Installation Issues
Most installation problems fall into a small set of categories. Work through these before assuming a faulty drive.
SSD Not Detected in BIOS
- Re-seat the drive. Power down, open the system, and firmly re-seat the SSD in its connector or slot. For SATA drives, check both the data cable and power cable connections at both ends. For M.2 drives, confirm the drive is fully pushed into the slot at the correct angle and the mounting screw is engaged.
- Try a different SATA port. If you’re using a SATA SSD and the drive isn’t appearing, switch the data cable to a different SATA port on the motherboard and retest.
- Check BIOS settings for disabled slots. Some motherboards disable certain M.2 slots or SATA ports by default, especially when they share bandwidth with other PCIe devices. Check the storage configuration section of your BIOS.
- Check interface compatibility. An NVMe drive will not be recognized in an M.2 slot that only supports SATA. Consult the motherboard manual to confirm which interface each slot supports.
If a Lexar SSD not detected issue persists after confirming all physical connections are correct, verify that the drive firmware is current and that BIOS is updated to the latest version. Some motherboard BIOS versions require an update to recognize newer SSD models. Lexar Enterprise firmware resources are available through the Knowledge Center.
System Won’t Boot After Installation
- Verify boot priority. The new SSD must be first in the boot order if it contains the OS. Check this in the BIOS boot settings.
- Confirm the OS installation is complete. If you were mid-install when a problem occurred, restart the installation process from the USB installer.
- Check for connector damage. Examine the SATA connector on the drive and the cable for bent pins or debris.
Slow Performance After Installation
- Confirm SATA mode is set to AHCI. If the controller was set to IDE mode during OS installation, switching it to AHCI afterward may require a registry change or OS repair. The simplest path is to set AHCI in BIOS before installing the OS.
- Check drive fill level. SSDs perform best when not filled to capacity. Write performance can degrade when a NAND drive is above approximately 85-90% full, as the controller has fewer free blocks to work with during write operations. This is a known characteristic of NAND flash architecture.
- Check for a firmware update. Drive firmware updates occasionally address performance-related behavior. Download the latest firmware from the manufacturer’s site.
- Monitor drive temperature. Sustained high temperatures can trigger thermal throttling in some NVMe drives. A tool like CrystalDiskInfo (Windows) can display drive temperature and health status.
Choosing an SSD for Enterprise or Industrial Applications
Consumer-grade SSDs are designed for typical desktop and laptop workloads – moderate write cycles, standard operating temperatures, and normal power conditions. Enterprise and industrial environments impose different requirements that consumer drives aren’t built to handle consistently.
Before going deeper: understanding how to install an SSD in a computer at a general level – the steps covered in this guide – applies across consumer, industrial, and enterprise hardware. The core process is the same; only the environmental specs and lifecycle requirements differ. If your application involves any of the following, the drive specification requirements move beyond what standard consumer SSDs address:
- Extended temperature ranges: Industrial-grade SSDs are rated for operation from -40°C to 85°C, compared to the 0°C to 70°C range typical for consumer drives. Applications in automotive systems, outdoor edge computing nodes, and manufacturing equipment require this extended range.
- High write endurance: Expressed as TBW (terabytes written), endurance ratings indicate how much total data can be written to the drive before NAND wear becomes a factor. Data logging, surveillance, and AI inference edge nodes write continuously – endurance rating selection matters.
- Power loss protection: Enterprise-grade drives include capacitors that allow the drive to complete in-flight write operations during a sudden power interruption, protecting data integrity. Consumer drives typically do not include this feature.
- Long product lifecycle availability: Consumer SSD models cycle out of production frequently. Enterprise and industrial programs require component availability over multi-year product lifetimes, which demands a supplier with formal lifecycle management commitments.
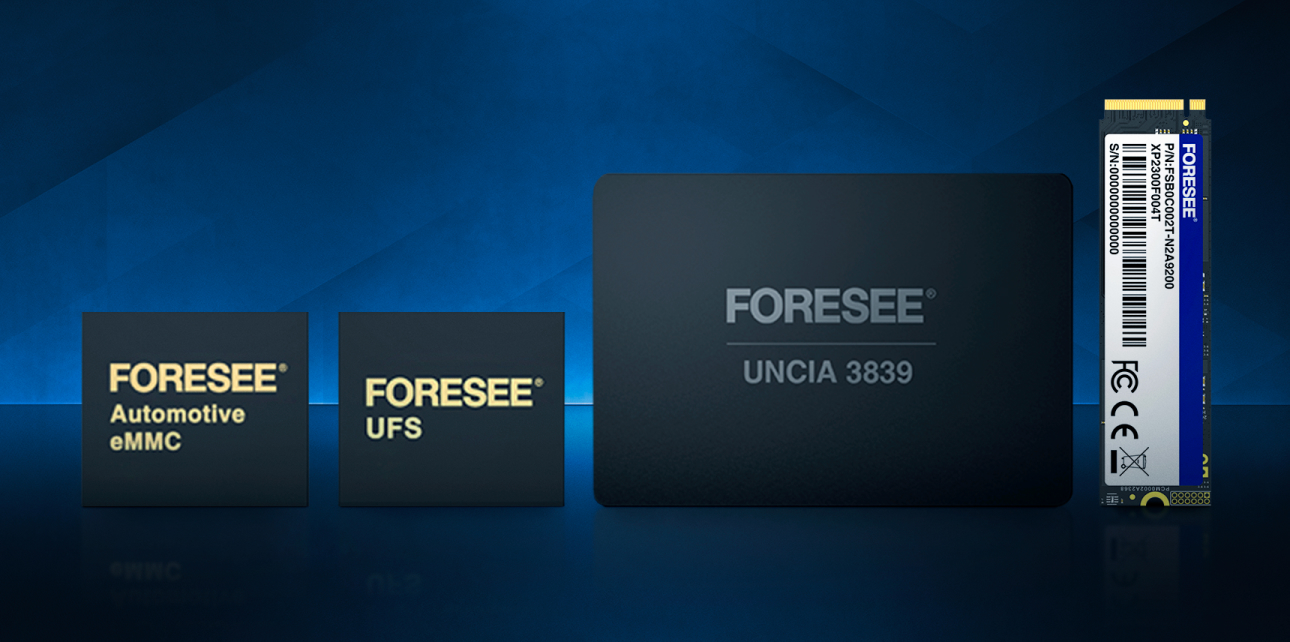
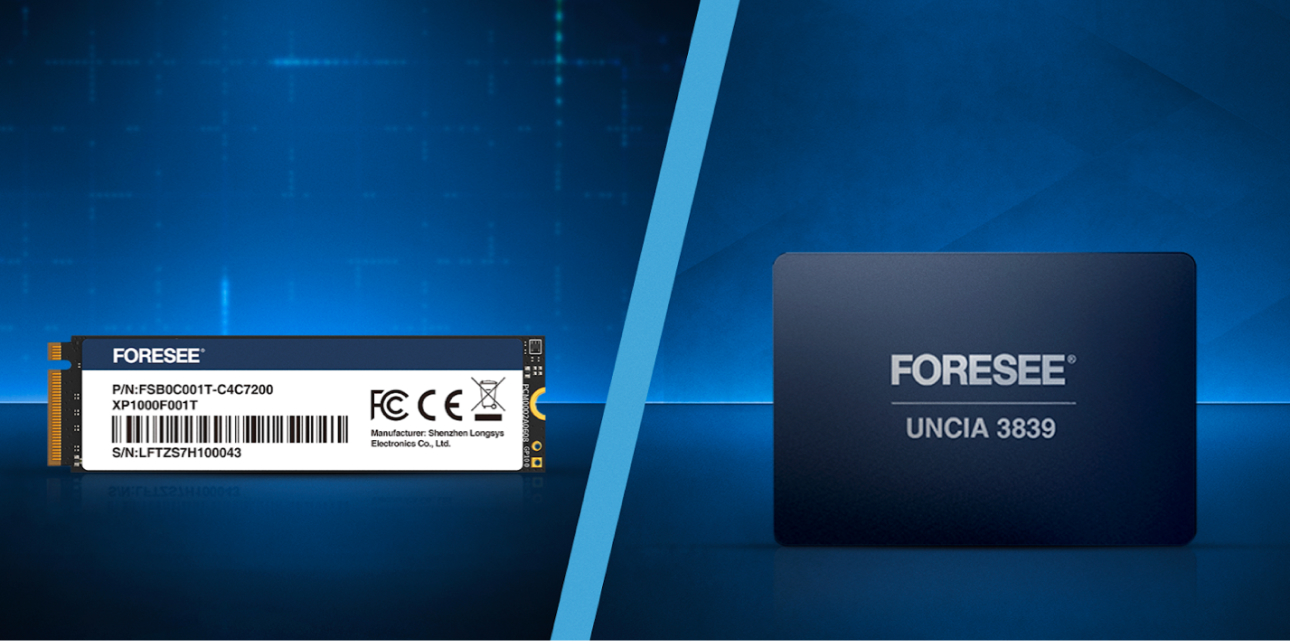
Lexar Enterprise’s SSD lineup – including the XP1000 PCIe SSD, XP2000 PCIe SSD, XP2300 PCIe SSD, and the UNCIA 3839 Enterprise SATA III SSD – is built for client-level, industrial-level, and enterprise-level deployments across computing, server, and data center environments. You can explore the full range of industrial SSDs or read our industrial solid state drive guide for a complete breakdown of specification requirements by application. For PC and server deployments specifically, Lexar Enterprise offers solutions across both SATA and PCIe form factors. For engineering teams spec’ing storage for mission-critical systems, contact Lexar Enterprise to discuss application requirements and request samples or documentation.
Frequently Asked Questions
How long does it take to install an SSD?
Physical installation typically takes 15 to 30 minutes for most desktop and laptop setups. The total time to have a fully configured system depends on whether you’re doing a fresh OS install (add 20-40 minutes) or cloning an existing drive (varies by drive size and clone speed, usually 30-90 minutes for typical system drives).
Can I install an SSD without reinstalling Windows?
Yes. If you clone your existing drive to the new SSD before installation using tools like Macrium Reflect Free or Clonezilla, the Windows installation transfers to the new drive. After cloning, physically install the SSD, set it as the first boot device in BIOS, and the system will boot from the cloned drive. No reinstall required.
Do I need to format an SSD before use?
New SSDs used as secondary data drives need to be initialized and formatted in Windows Disk Management before they appear in File Explorer. SSDs being used as the primary OS drive get formatted automatically during Windows or Linux installation. SSDs should be formatted as NTFS (Windows) or ext4 (Linux) in most cases. Use GPT partition style for all modern systems using UEFI.
Is it safe to install an SSD without an anti-static wrist strap?
Working without an ESD strap increases risk, particularly on carpeted surfaces or in low-humidity environments. The risk is manageable if you frequently touch a bare, unpainted metal surface on the computer case before and during handling of the drive. An ESD wrist strap is the more reliable option and costs very little.
What is the difference between SATA and NVMe SSDs for installation?
SATA SSDs connect via SATA data and power cables, either in a 2.5″ drive bay or via an M.2 SATA slot on the motherboard. NVMe SSDs use the PCIe interface and connect via an M.2 slot wired for NVMe. NVMe drives deliver significantly higher speeds – modern Gen 4 NVMe drives reach sequential read speeds above 7,000 MB/s versus the ~550 MB/s ceiling of SATA. The installation process for M.2 drives is the same regardless of whether they’re SATA or NVMe; the difference is in slot compatibility and performance.
Can I add an SSD without removing the existing hard drive?
In desktops, yes – how to add SSD storage to an existing build is one of the most common storage upgrades, and it doesn’t require removing the existing HDD. Adding an SSD to a PC alongside an existing drive is supported as long as you have an open bay and power connector available. If you have an available drive bay and a free SATA power connector, the new drive installs without removing anything currently in the system. This allows you to use the SSD as your OS and primary application drive while retaining the HDD for bulk storage. In laptops, this depends on whether the system has both a 2.5″ bay and an M.2 slot, or multiple M.2 slots – many thin-and-light models support only one storage device.
Why does my SSD show less storage than advertised?
SSD capacity is marketed in decimal gigabytes (1 GB = 1,000,000,000 bytes), while operating systems calculate storage in binary gibibytes (1 GiB = 1,073,741,824 bytes). A 500 GB drive will show as approximately 465 GB in Windows File Explorer. This is expected behavior, not a defect. Additionally, some capacity is reserved by the drive’s firmware for over-provisioning, which supports write endurance and performance consistency over the drive’s lifetime.
How do I know if my SSD installation was successful?
Check three things after installation: the drive appears in BIOS/UEFI storage settings, it appears in Windows Disk Management (or Linux with lsblk), and if it’s the OS drive, the system boots normally from it. For performance verification, a tool like CrystalDiskMark (Windows) can run sequential and random read/write benchmarks and confirm the drive is operating within expected speed parameters for its interface type.
How do I set up a new SSD in Windows after installing it?
After physically installing the new SSD, boot the system and enter BIOS to confirm the drive is detected. If it’s being used as a secondary drive, open Windows Disk Management (right-click Start – Disk Management), initialize the drive as GPT, create a new simple volume, format as NTFS, and assign a drive letter. The drive will then appear in File Explorer. If the SSD is your primary OS drive, install Windows from a USB installer and select the new SSD as the target drive during setup.
Why is my Lexar SSD not showing up or not detected?
If your Lexar SSD is not detected – whether in BIOS, Windows, or both – work through these checks in order: confirm the physical connection is fully seated (SATA data and power cables, or M.2 mounting screw), try a different SATA port if applicable, verify the M.2 slot interface matches the drive type (SATA vs. NVMe), and check whether the BIOS slot for that port is enabled. If the drive appears in BIOS but not in Windows, it likely needs to be initialized in Disk Management. For firmware-related detection issues on Lexar Enterprise drives, firmware updates and support documentation are available through the Lexar Enterprise Knowledge Center.